How To Install Bifold Doors: Step-by-Step Instructions
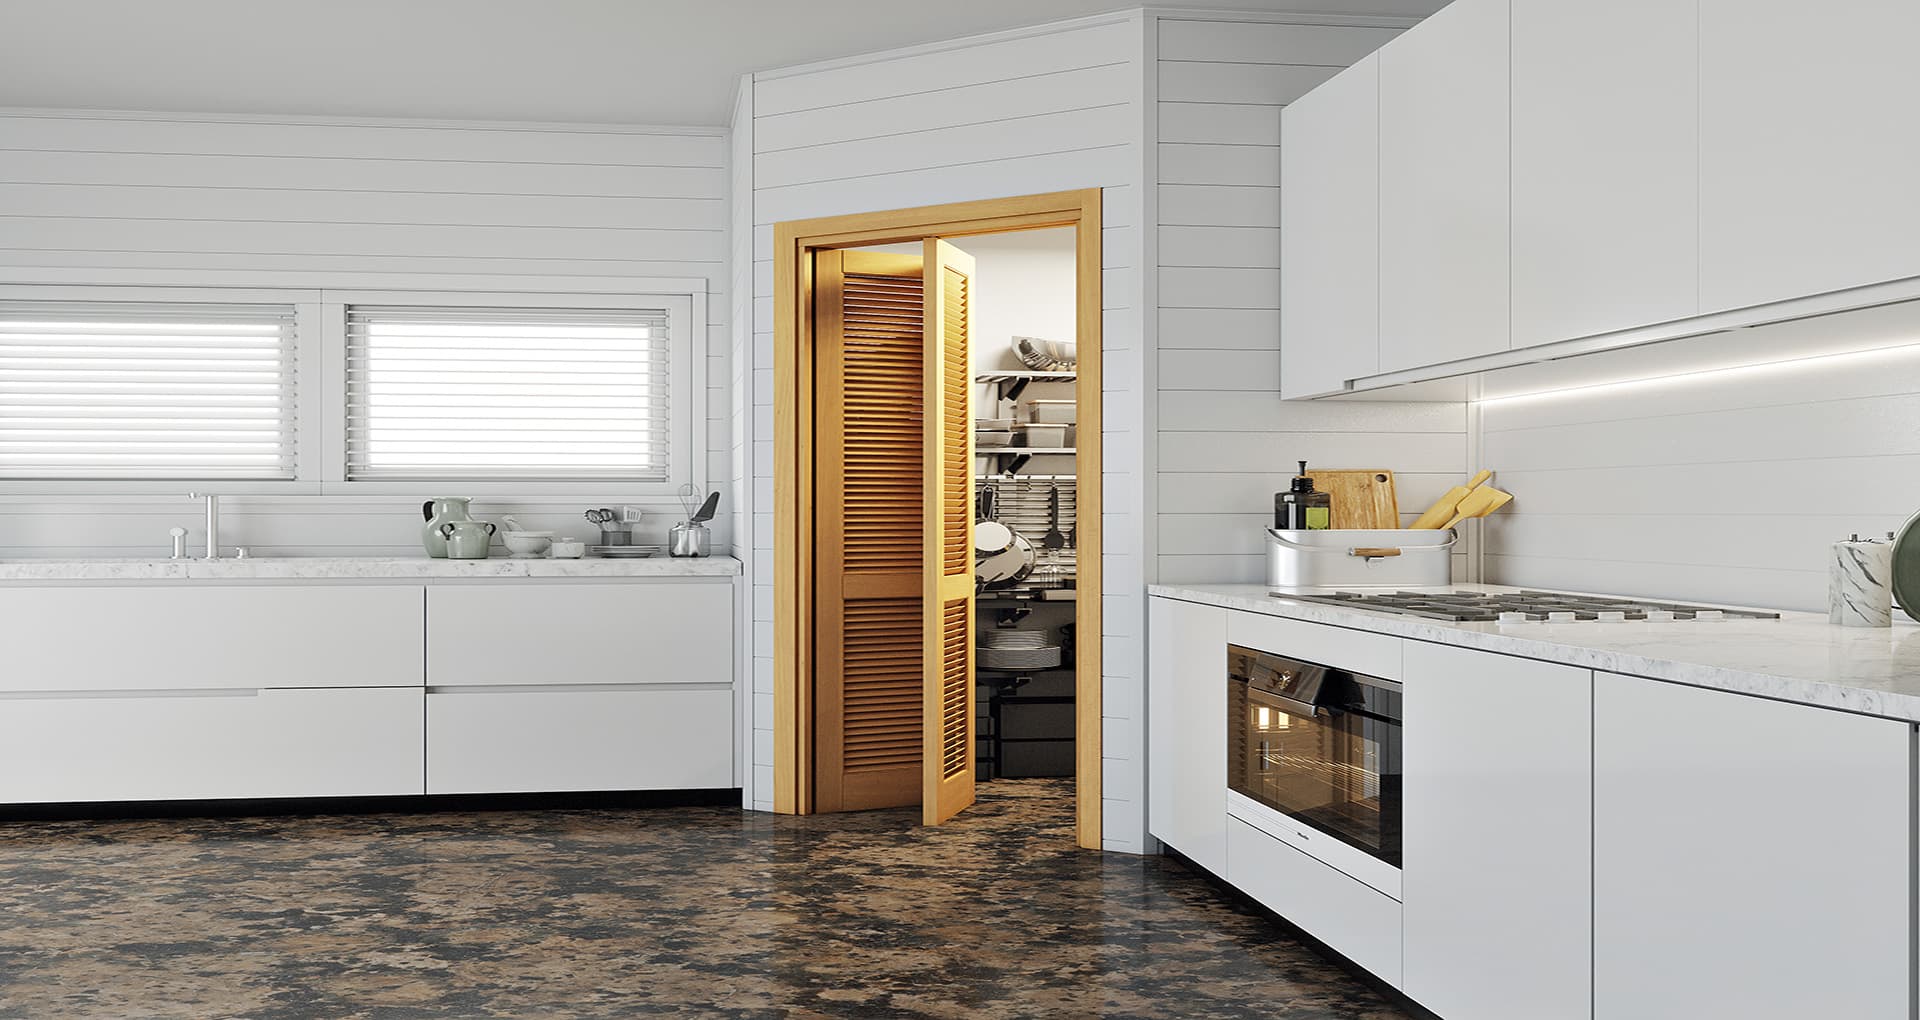
Bifold doors are an excellent addition to any home, providing a sleek and modern look while also saving space.
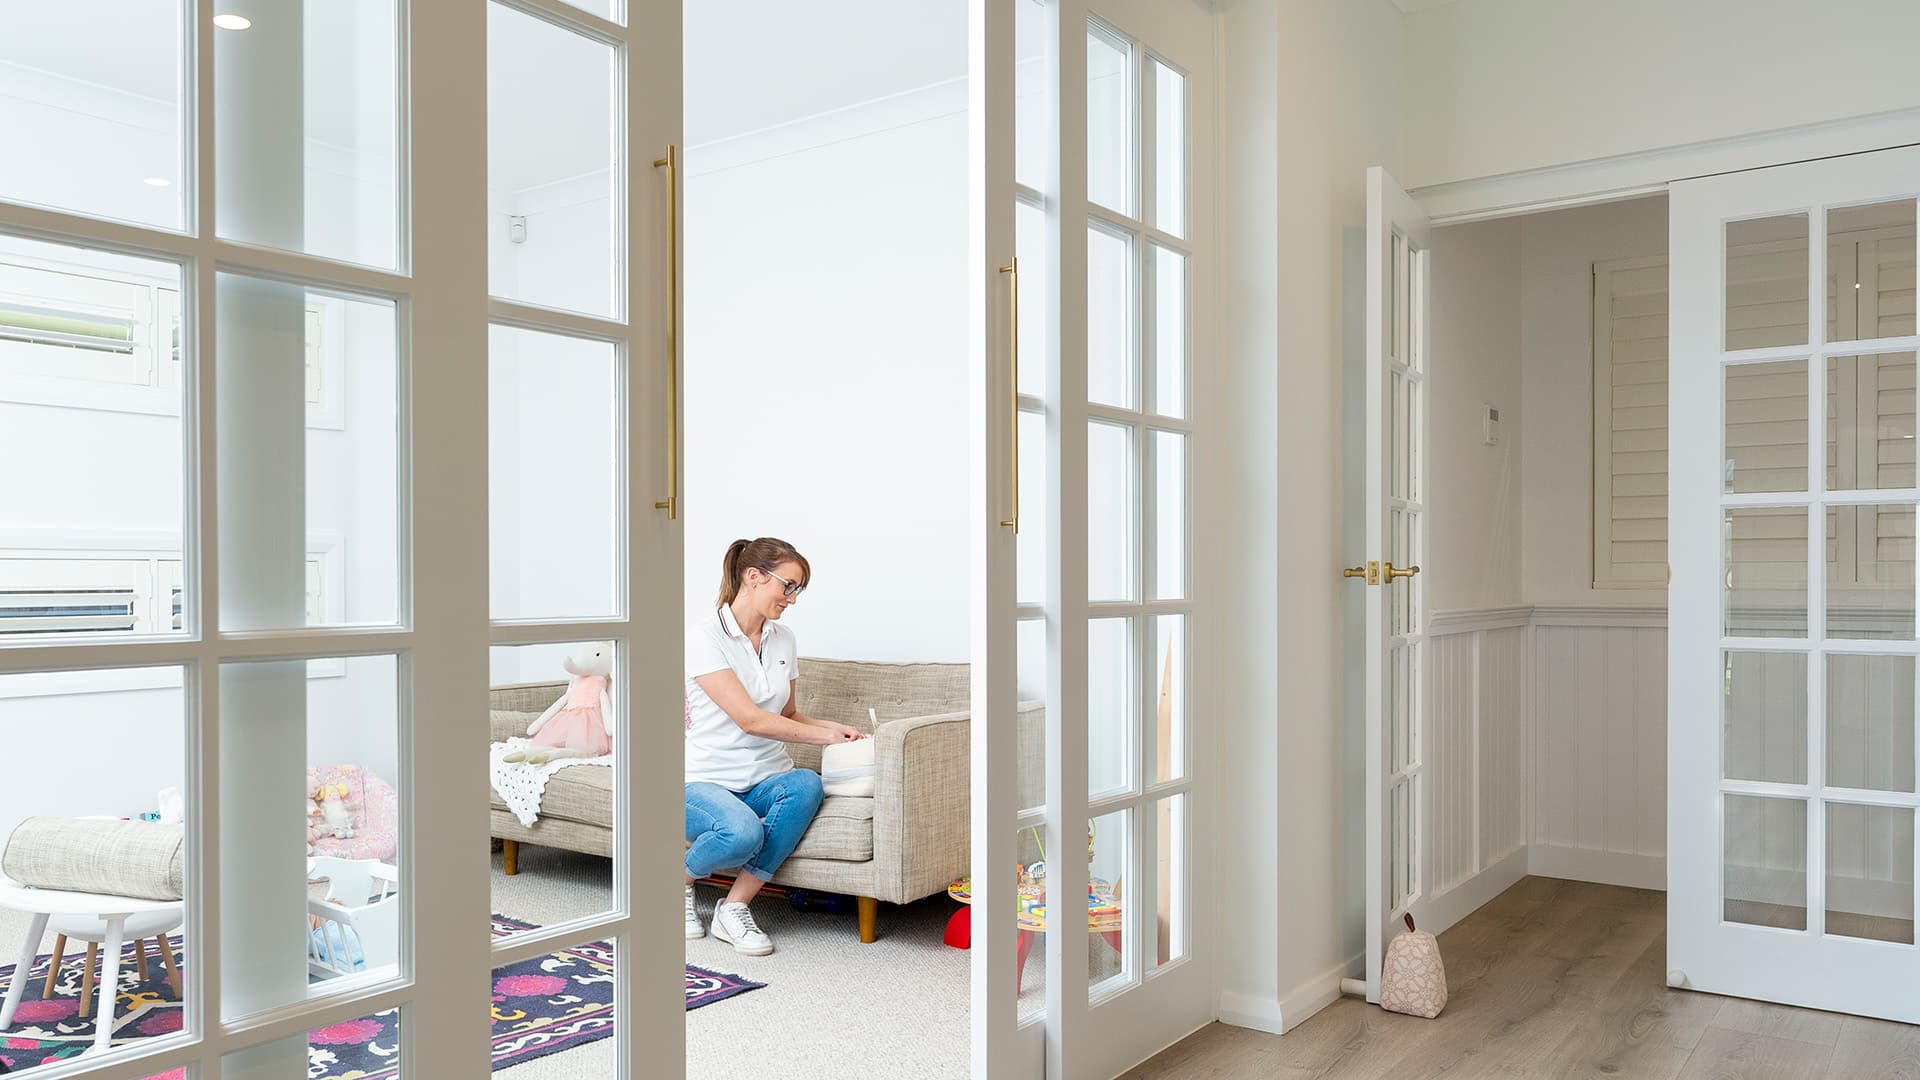
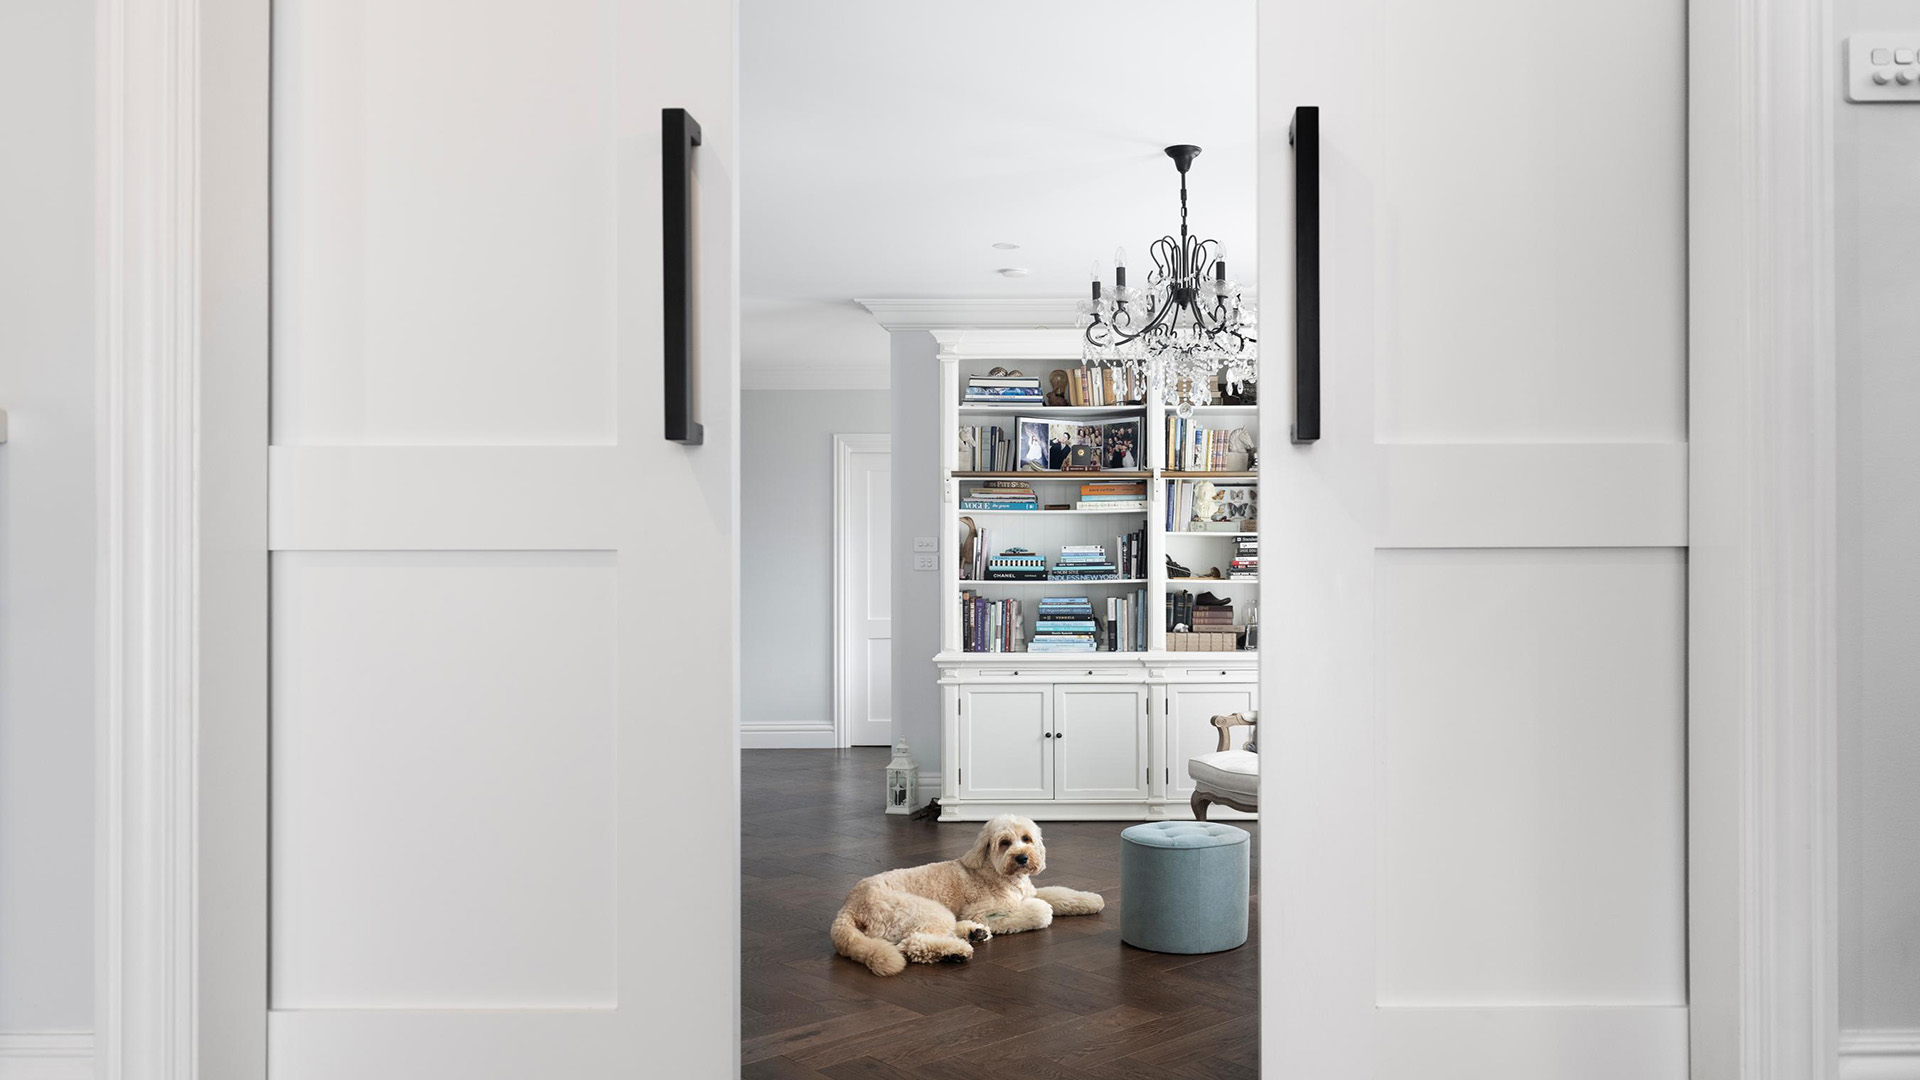
They are a versatile choice – popular for updating your closet doors, as room dividers in an open plan space, or as an alternative to traditional patio doors.
If you’re planning to install new doors yourself, this guide will walk you through how to install bifold doors, step by step, but be sure to check the instructions or diagrams that come with your doors for specific measurements and placement.
Installing Your Bifold Doors
Before beginning, make sure you have all the necessary tools and materials.
You will need a drill, spirit level, screwdriver, measuring tape, saw, screws, and the bifold door kit.
Step 1: Measure the Opening
Measure the opening for your doors and mark the centre with a pencil.
Step 2: Cut the Tracks
Using a saw, cut the top and bottom tracks to the correct size.
Be sure to follow the manufacturer’s instructions on how to properly cut the tracks.
Step 3: Install the Top Track
Install the top track according to the manufacturer’s instructions.
Use a spirit level to ensure that the track is level and secure it to the header with screws.
The track should be centred on the header, with the pivot bracket on the jamb-side.
It’s a good idea to leave about an inch from the front edge of the header so that you can add trim to hide the track if necessary.
Step 4: Install the Bottom Track
Install the bottom track, making sure it is level and flush with the floor. Use screws to secure it in place.
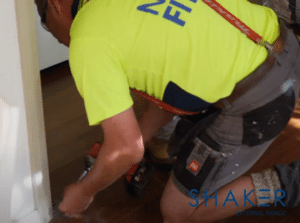
Step 5: Install the Pivot Brackets
Install the pivot brackets onto the top and bottom of each door panel for your jamb-side doors.
Make sure they are properly aligned and level.
Check the instructions and diagrams that come with your doors for the exact placement.
You might also have jamb brackets to install at the floor level.
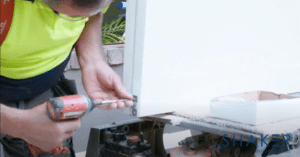
Step 6: Install the Doors
Hang the doors onto the top track first and then slide them into the bottom track.
Make sure they are properly aligned and adjust the pivot brackets as necessary.
Note that if you want to paint or stain your doors, it’s best to do this before installing them on the track.
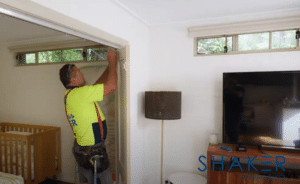
Step 7: Install Handles and Other Hardware
Install the door handles according to the manufacturer’s instructions.
Be sure they are properly aligned and securely attached.
You might also have aligners, which are screwed to the back of the doors to help them stay closed.
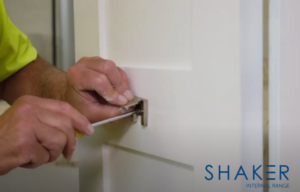
Step 8: Adjust the Doors
Adjust the doors as necessary to ensure they open and close smoothly.
If they are catching against the floor or not fully opening/closing in a smooth motion, you may need to adjust the pivot brackets or the height of the doors.
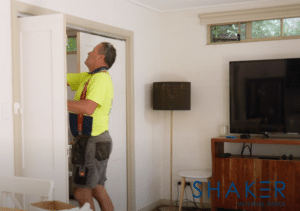
How Do I Find the Right Size Bifold Door?
Before you follow this process for how to install bifold doors step by step, it’s important to be sure that you have the right sized doors for your opening.
This all hangs on getting your measurements spot on in the first place.
When you measure the opening, bear in mind that the door panels should be slightly smaller than the opening to allow for proper clearance and for the mechanisms that attach the doors to the frame.
It’s important to measure the height and width at several different points in case your opening isn’t perfectly square.
Find out more about what size bifold doors you need for your space.
When shopping around for your doors, it’s important to pay close attention to how the measurements are presented by different retailers.
Some may list the overall size of the door, including the frame, while others may only list the size of the door panels.
Be sure to check the product description and specifications carefully to ensure that you are getting the correct size.
While there are some standard bifold door sizes, you can also buy custom sizes if you have an unusual opening.
At Doors Plus, both our Zone Living bifold room dividers and our external bifold al fresco doors can be made to measure and are sold as a complete unit – including framework, tracks and hardware.

Can Bifold Doors Be Professionally Installed?
You may feel confident that you now have the know-how to install bifold doors step by step, but many people choose to hire a professional if they don’t have the experience or the time to do it themselves.
Professional installation ensures that the doors are properly installed and adjusted for optimal performance, and they will be able to trim your bifold doors down to size if needed.
You will also likely get a warranty or guarantee, for added peace of mind.
Particularly if your framework needs repairing or replacing before installation, this is a bigger and more complex job and it’s worth calling in a professional to get it done right.
When choosing a professional installer, be sure to do your research and choose someone who is fully qualified and experienced.
The best way to find a quality contractor you can trust is via a direct recommendation.
Don’t be afraid to ask for references from previous customers.
When you buy bifold doors from Doors Plus, we offer a professional installation service, using qualified and trusted carpenters.
This can end up saving you a lot of time and money, and guarantees a stunning finish for your home renovation project.
Looking To Put Bifold Doors In Your Home?
As well as folding closet doors or room dividers, you can use this guided installation process if you want to know how to install aluminium bifold doors step by step, for an al fresco transformation, or how to install bifold shower doors step by step.
The general process will be the same, whatever the location of the installation around your home, but it’s always essential to refer to the specific instructions that come with your door kit.
If you’re looking for more information or advice about the sizes or cost of bifold doors, or would like to discuss installation options for your new doors, visit us at your nearest Doors Plus showroom – we’re on hand to make it easy for you!


