Complete Guide on How to Install Front Doors for Your Home
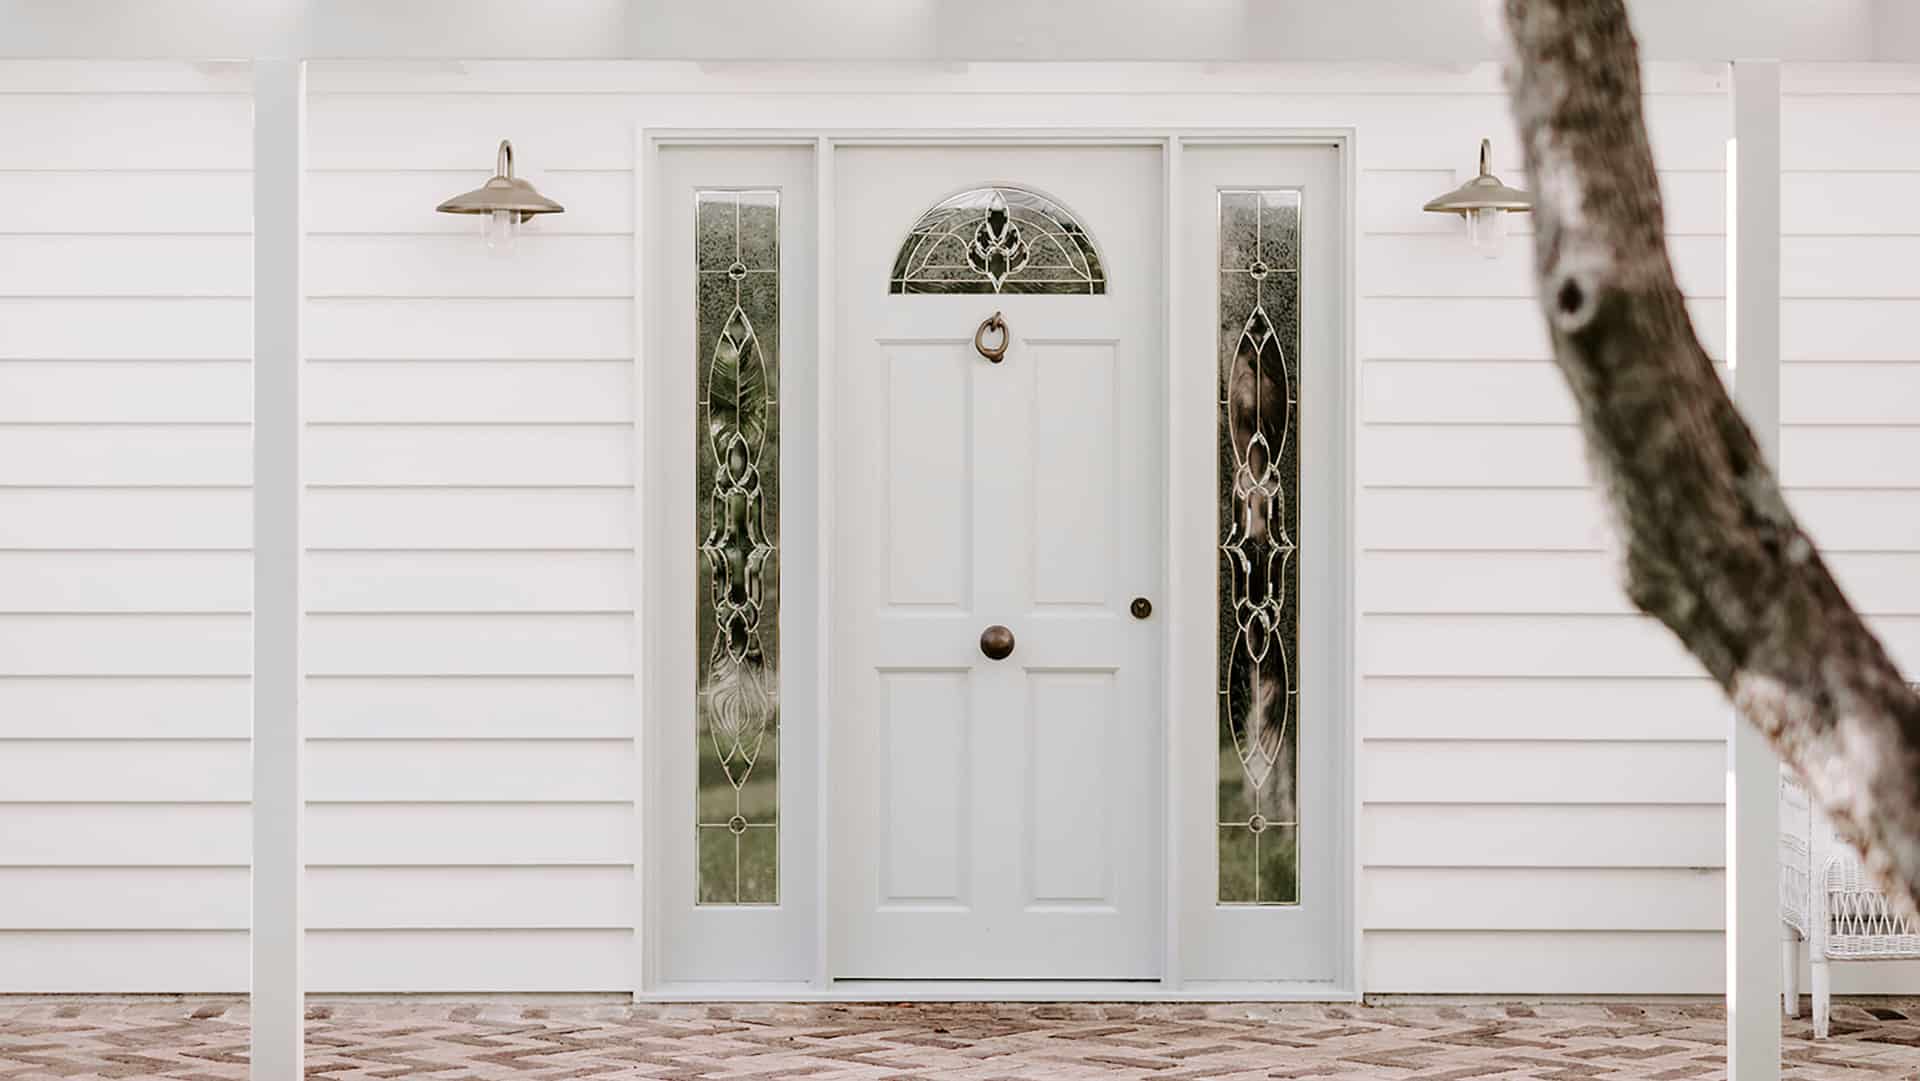
A front door wears more than just one hat.
It’s your home’s handshake, a security guard, and a barrier against the Australian elements.
A well-installed door makes a statement. A poorly installed one? A disaster waiting to happen.
Want to learn how to install a front door and avoid any DIY disasters?
If so, this guide is for you. We’ll walk you through every step of installing a front door.
We’ll cover tools, materials, and techniques. No technical jargon, just clear instructions.
Whether it’s a new door or a replacement, you’ll be able to transform your entryway into a showstopper.
So grab your tools, and let’s get started.
Preparing for Installation
Before you dive headfirst into the installation, a little prep goes a long way.
Here’s what you need to check off your list.
• Door frame check-up.
o Look for damage: Check the frame for rot, warping, or cracks.
If it’s in rough shape, a repair or replacement might be needed before installing a new door.
o Test for sturdiness: Give the frame a gentle shake. If it feels loose or wobbly, tighten any screws or add shims for stability.
• Measure twice, install once.
o Accurate measurements are key: Grab a measuring tape and get the height, width, and thickness of your existing door or the opening where the new door will go.
Double-check your numbers!
o Match the measurements: Make sure your new door’s dimensions closely match the measurements you took.
A small difference can be adjusted, but a large discrepancy might mean you need a different door.
• Tools of the trade
o Measuring tape
o Level
o Drill
o Screwdriver
o Hammer
o Saw
o Safety glasses
o Shims
o Wood screws
o Caulk or filler foam
With your tools and materials ready, and a well-prepped door frame, you’re well on your way to a successful door installation.
Let’s move on to the step-by-step process!
Removing the Old Door
Before the new door gets its moment in the spotlight, we need to give the old one a proper send-off.
Here’s how to remove it:
1. Swing it open: Open the door fully to access the hinges.
2. Unscrew the hinges: Use a screwdriver or drill to remove the screws holding the hinges to the door frame.
Start from the bottom and work your way up.
3. Lift and remove: With a helping hand or a pry bar, gently lift the door off the hinges and carefully set it aside.
You might need an extra pair of hands for this step.
4. Trim time:
• Score the edges: Use a utility knife to score along the edges of the trim where it meets the wall and frame.
This helps prevent paint from peeling.
• Pry it loose: Use a pry bar and hammer to carefully pry the trim away from the wall.
Start from the top and work your way down, being mindful of any nails or screws.
Pro tip: If you plan on reusing the trim, be extra gentle with your pry bar to avoid damaging it.
With the old door and trim out of the way, you’ve cleared the stage for your new entrance.
Now, the real fun begins!

Fitting the New Front Door
Time for the star of the show! Let’s get that new door hanging smoothly and looking sharp.
1. Position and prep:
• Set it in place. Carefully place the new door into the frame, resting the bottom edge on a shim or wood block.
• Check for clearance: Make sure there’s a small, even gap (about 5mm) between the door and the frame on all sides.
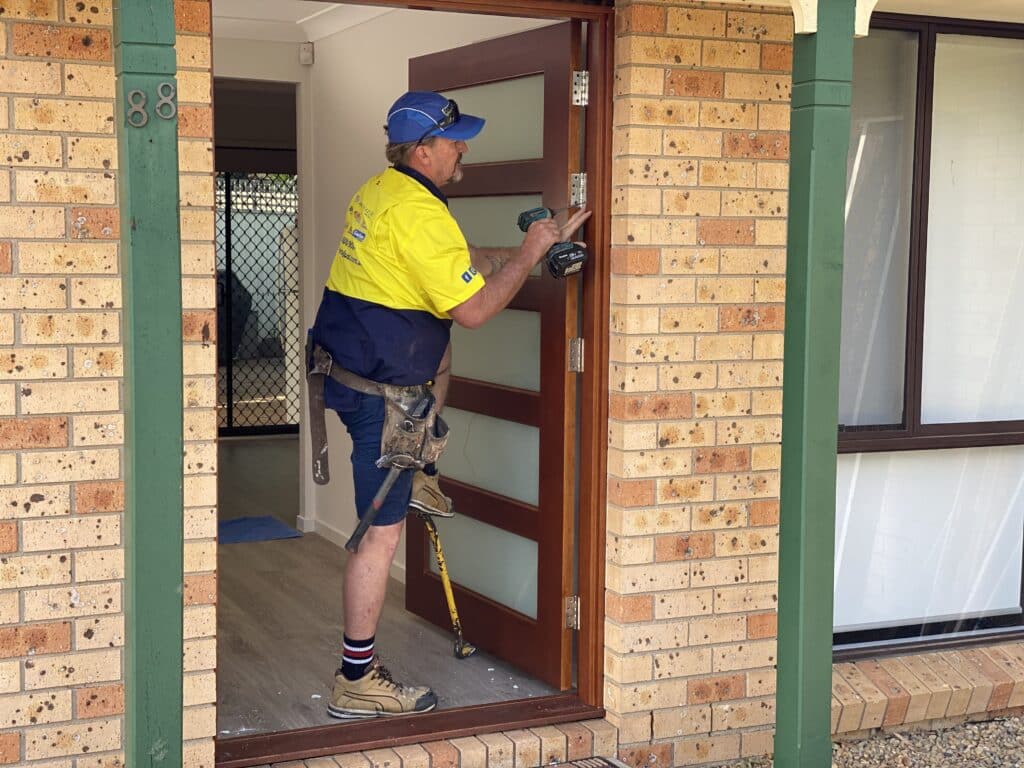
2. Secure the hinges:
• Align and mark. With the door open, position the hinges onto the door so that the rounded, barrel-shaped part of the hinge (the knuckle) faces the direction the door will open.
The flat part of the hinge should sit flush against the edge of the door.
Mark the screw locations on the door with a pencil.
• Pre-drill (optional). If your door is solid wood, pre-drill pilot holes at the marked locations to prevent splitting.
• Attach the hinges. Before securing the hinges to the door with the provided screws, decide if you want them mortised (inset) for a sleeker look or sitting proud on the door for a more traditional look.
Then, attach the hinges to the door.
3. Test the swing:
• Open and close gently. Carefully open and close the door, paying attention to how it moves.
Does it swing smoothly, or does it stick or rub against the frame?
• Look for trouble spots. If the door binds or rubs, find the exact spot where it’s making contact with the frame.
Is it at the top, bottom, or sides?
• If the door rubs on the top or bottom. Use shims under the lower hinge or the upper hinge to adjust the door’s vertical alignment.
• If the door rubs on the sides. Use shims behind the hinges or the strike plate side of the frame to adjust the door’s horizontal alignment.
• Tiny adjustments, big difference. Add or remove shims in small increments until the door swings freely without rubbing.
Remember, a little goes a long way!
• Double-check with a level:
• Hinge side. First, place a level vertically against the hinge side of the door and make sure the door is plumb.
• Latch side. Place the level vertically against the latch side of the door to confirm this side is also plumb.
• Fine-tune with shims. If the door is not plumb or level, continue to adjust the shims until everything is straight and lines up.
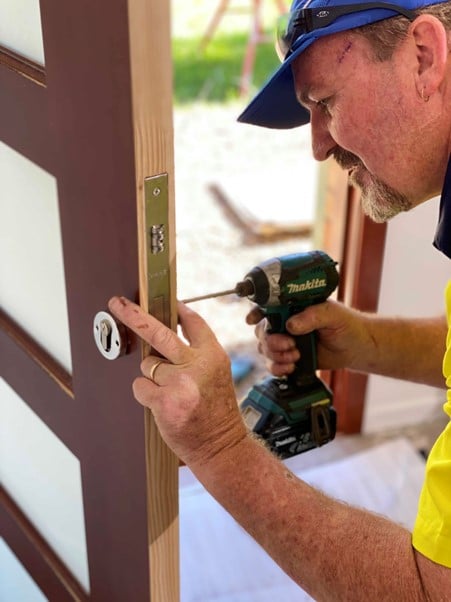
4. Lock it in:
• Install the strike plate. Align the strike plate on the door frame with the latch on the door.
Mark and chisel out a mortise (recess) for the strike plate, then secure it with screws.
• Test the lock. Make sure the latch engages smoothly with the strike plate when the door is closed.
5. Handle with care:
• Install handles and locks. Follow the manufacturer’s instructions to install the door handles, locks, and any other hardware.
Make sure everything is secure and functions properly.
With your new front door hanging beautifully and your hardware installed, you’re one step closer to a complete entryway transformation!
Let’s move on to the finishing touches.
Sealing and Finishing Touches
You’re almost there! With the door swinging smoothly and hardware shining, it’s time to button up the details that make a real difference.
• Weatherproofing:
• Gap attack. Before putting the trim around your new door, hunt down any gaps around the door frame.
Seal them up with caulk or filler foam to keep out drafts and moisture.
• Sweep it up. Install a door sweep at the bottom to block any sneaky breezes trying to sneak in under the door.
• Paint time:
• DIY. Grab your paintbrush and do your thing! Just make sure you choose a paint or stain suitable for exterior use.
• Leave it to the pros. Want a flawless finish? Doors Plus has you covered with professional painting and staining services that’ll make your door the envy of the neighbourhood.
Maintenance Tips
A little TLC goes a long way in keeping your front door looking and working its best. Here are a few tips to keep in mind.
• Regular check-ups:
• Hinges and hardware. Give them a once-over every few months.
Tighten any loose screws and lubricate the hinges with a silicone-based lubricant to keep them swinging smoothly.
• Paint or stain. Check for any chips or peeling.
Touch up as needed to protect the door from the elements.
• Weatherstripping. Inspect the weatherstripping around the door frame for wear and tear.
Replace any damaged sections to keep your home draught-free.
• Troubleshooting tips:
• Sticking door. If your door starts sticking, it might just need a little adjustment.
Check the hinges and tighten any loose screws. If that doesn’t work, you may need to plane (shave) off a small amount from the edge of the door.
• Draughts. Feel a draught? Check the weatherstripping and caulking around the door frame. Replace or add more if needed.
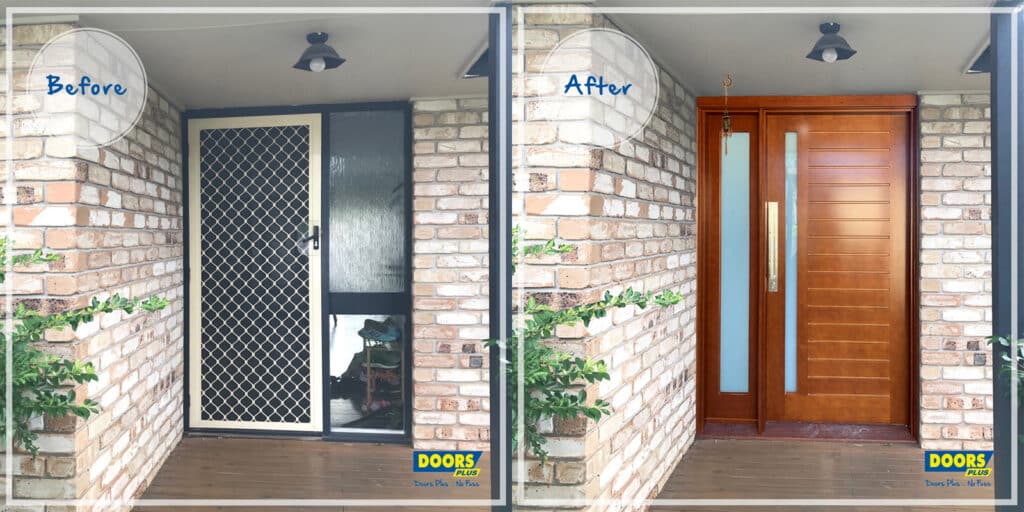
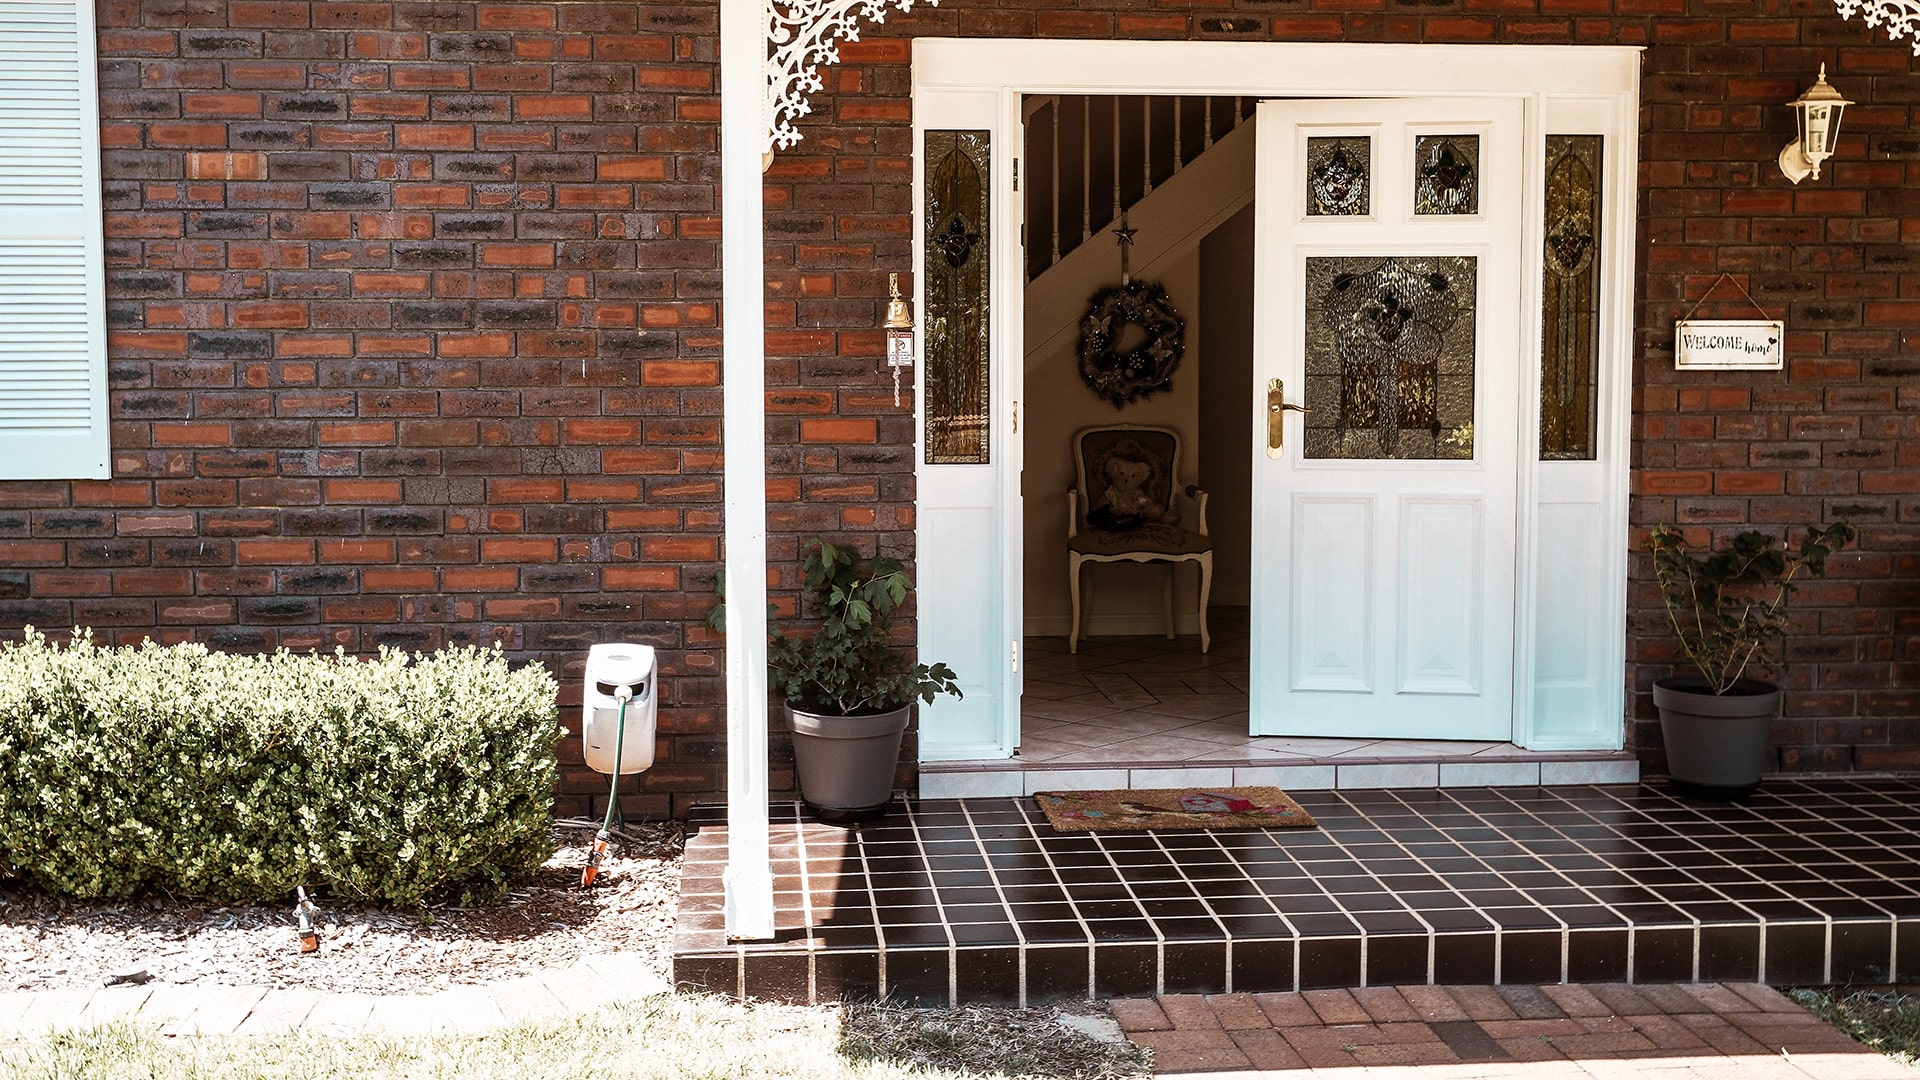
Ready To Upgrade Your Front Door? Start Here!
Installing a new front door is a DIY project that packs a serious punch.
With this guide on how to install a front door, you’re well on your way to a stunning entrance that will make your neighbours jealous.
If you have the DIY bug, Doors Plus is your one-stop shop for all things front doors.
We’ve got a style for every home, from sleek and modern to timeless and classic.
Head on over to a Doors Plus showroom and see what catches your eye.
Or check out our website for all the different door styles we offer.
While you’re there, contact us for a free measure and quote and get started on transforming your home with a new front door today!
FAQs About How To Install Front Doors
Can You Install a Front Door Yourself?
Absolutely! With the right tools, materials, and a bit of know-how (like the info in this guide!), installing a front door is a DIY project you can tackle with confidence.
How Long Does It Take To Install a Front Door?
It depends on your experience level and the complexity of the door, but a DIY installation typically takes anywhere from 3 to 5 hours.
How Do I Ensure My Front Door Is Secure?
1. Choose a solid, sturdy door made from a durable material.
2. Install a strong deadbolt lock with a long throw bolt.
3. Reinforce the door frame with longer screws or a security strike plate.
4. Add a peephole or security camera.
Recent Post
Informational
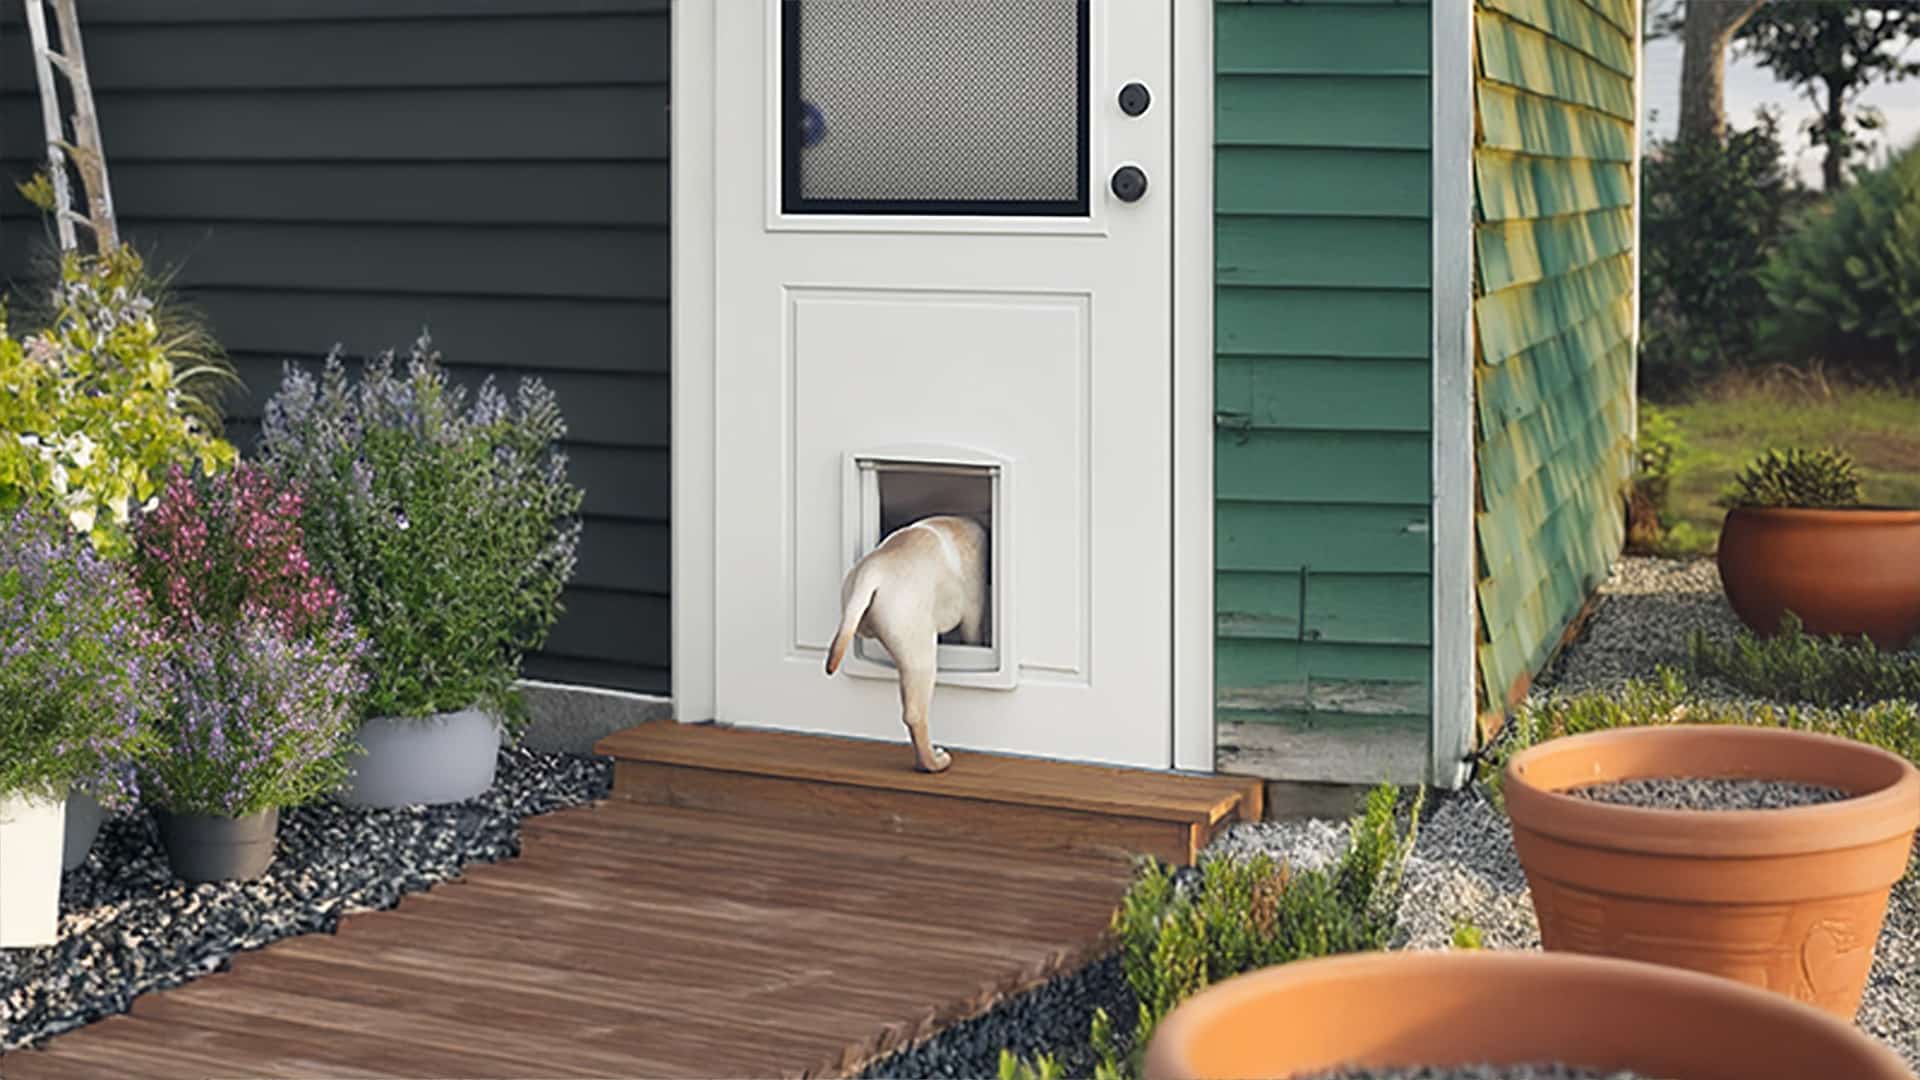
Pet Door For Screen Door: Factors to Consider When Selecting the Best Pet Door for Your Screen Door
December 11, 2024

Featured Post