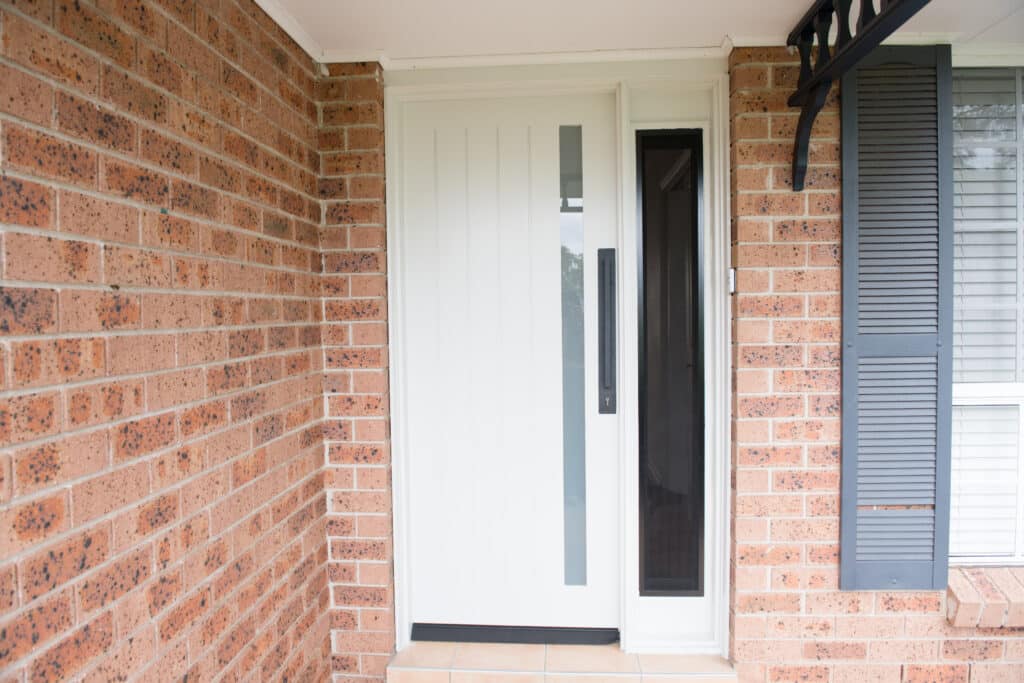
Effective Methods To Insulate Your Front Door for Maximum Comfort
Is your front door letting in the cold (or heat) and driving up your energy bills? A draughty, poorly insulated door isn’t just uncomfortable—it’s a money pit!
But the good news is learning how to insulate front doors is a simple DIY project with massive benefits. You can tackle it yourself, and the payoff is huge in terms of comfort and savings.
We’ll explain everything you need to know, from the materials needed to step-by-step instructions and handy tips, to make your front door a cosy, energy-efficient barrier.
Why Insulate Your Front Door?
Think of your front door as the gatekeeper of your home’s energy. Properly insulated doors can make all the difference.
• Slashes energy bills: A well-insulated door reduces the strain on your heating and cooling systems, resulting in big savings on your energy bills.
• Keeps you cosy: Say goodbye to chilly draughts in winter and sweltering heat in summer. A properly insulated front door maintains a consistent indoor temperature, making your home more comfortable year-round.
• Quiets the chaos: Insulation acts as a sound barrier, reducing noise from outside traffic.
• Boosts home value: An energy-efficient home is an attractive feature for potential buyers, increasing your home’s resale value!
Materials Needed for Front Door Insulation
1. Weatherstripping: This comes in various types (adhesive-backed foam, V-strip, door gasket) and is usually your go-to for sealing gaps around the door frame.
2. Door sweep: Choose a foam under-door or brush sweep to block draughts from the bottom of your door.
3. Foam insulation: Expanding foam fills larger gaps between the door frame and wall.
4. Caulk: Ideal for sealing small cracks and gaps in the door frame.
5. Tools: You’ll need a measuring tape, scissors or a utility knife, a screwdriver, and a caulk gun.
Step-by-Step Guide to Insulating a Front Door
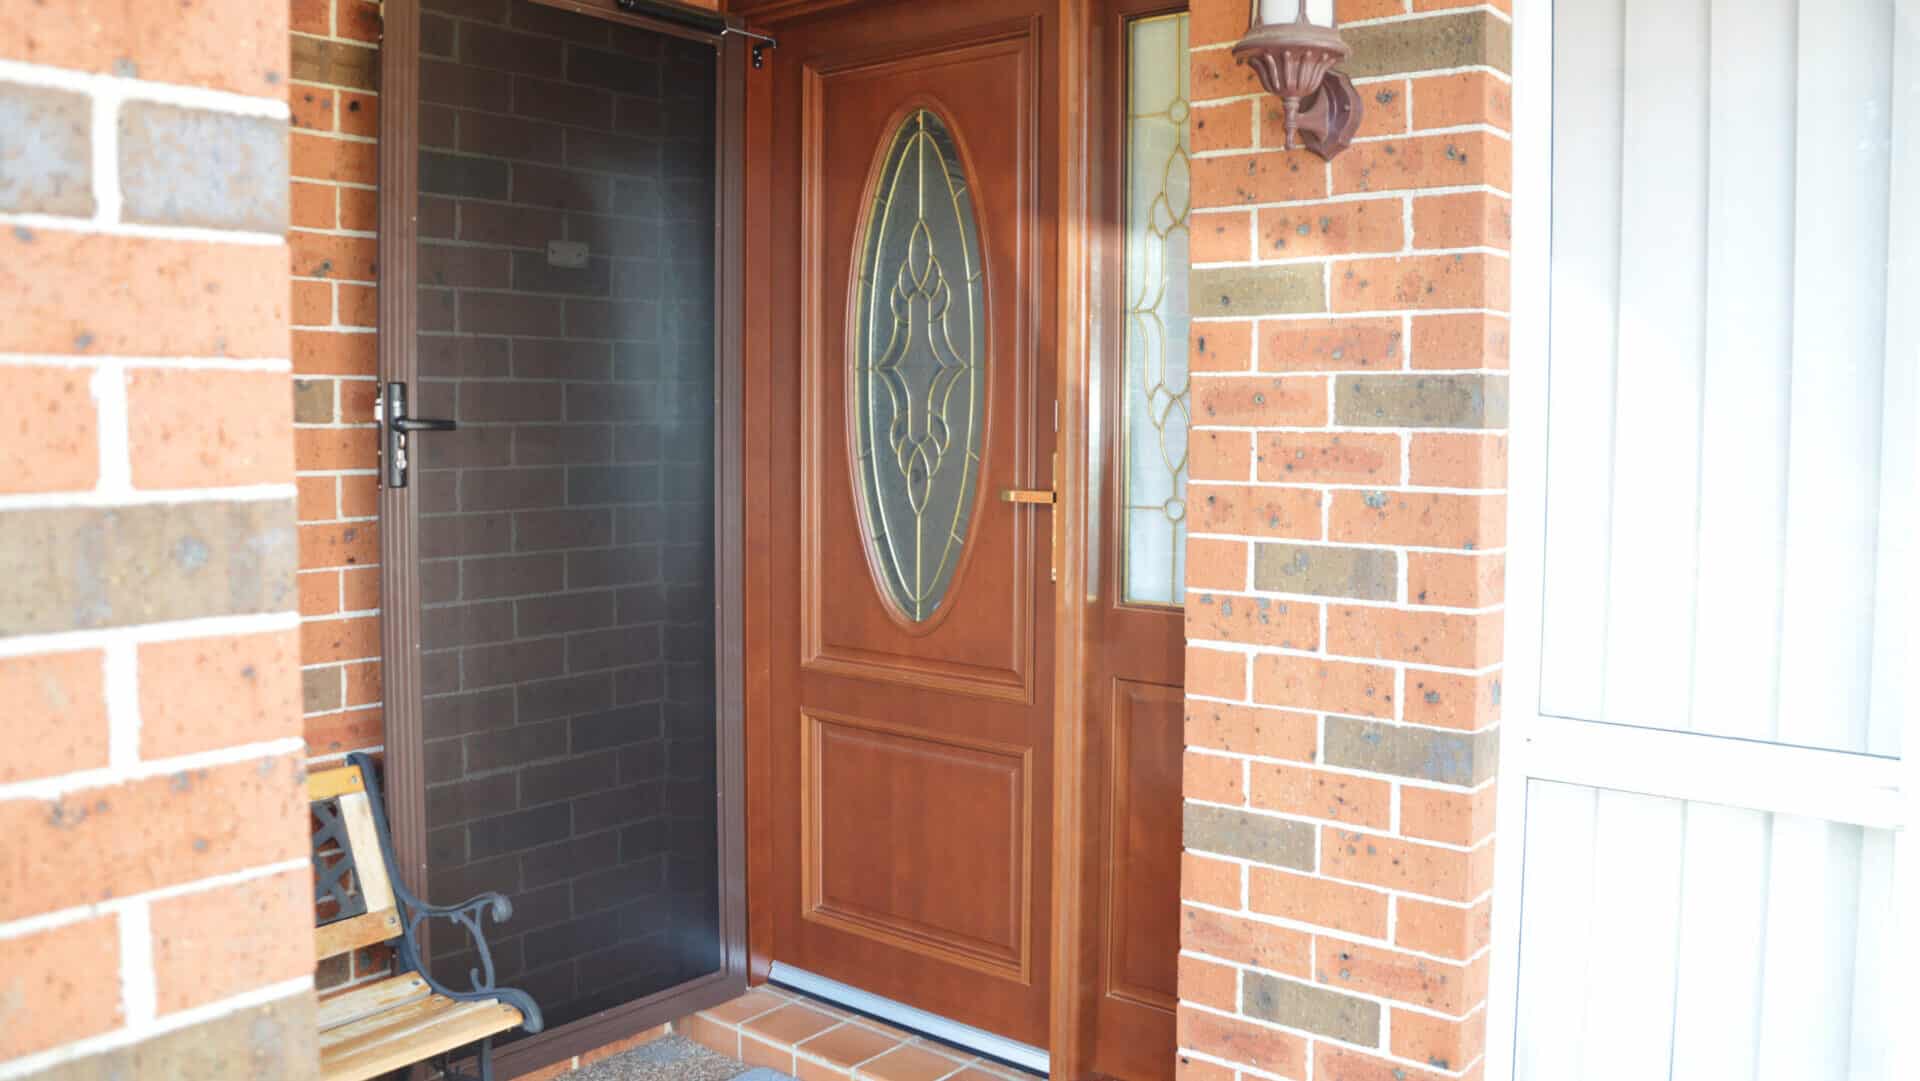
Step 1: Inspect and Prepare the Door
• Check for draughts: On a windy day, carefully hold a lit candle or incense stick near the edges of the door. If the flame flickers or the smoke wavers, you’ve found a draught!
• Clean the door: Thoroughly clean the door frame and the areas where you’ll apply insulation. Remove any dirt, dust, or old weatherstripping residue. A clean, dry surface helps your new insulation materials stick and stay in place.
Step 2: Applying Weatherstripping
• Choose the type: Select the appropriate type of weatherstripping for your door. Adhesive-backed foam is easy to install, V-strip is durable and creates a tight seal and door gaskets offer great compression for uneven surfaces.
• Measure twice, cut once: Carefully measure the length of each side of the door frame where you’ll be applying weatherstripping. Cut the material to the exact size with scissors or a utility knife.
• Apply: For adhesive-backed weatherstripping, peel off the backing gradually as you press it firmly into place along the door frame. For other types, follow the manufacturer’s instructions for installation.
Step 3: Installing a Door Sweep
• Measure and cut: Make sure your door sweep matches the width of your door. Trim it if necessary. If your door sweep is metal, you will need a hacksaw. For brush sweeps, apply a dab of silicone sealant to the cut ends to stop the bristles from falling out.
• Install: If your door sweep comes with screws, position it against the bottom of the door, ensuring it makes even contact with the floor, and mark the screw holes. Pre-drill pilot holes in wood doors to prevent splitting. Then, screw the sweep securely into place. For adhesive-backed sweeps, simply peel off the backing and press it firmly onto the door.
Step 4: Using Foam Insulation
• Apply carefully: Inspect the door frame for any larger gaps between the frame and the wall. Expanding foam is your friend here! Shake the can well, then carefully apply the foam to fill the gaps. Remember, a little goes a long way—it will expand as it cures.
• Trim excess: Once dry, trim any excess foam with a utility knife.
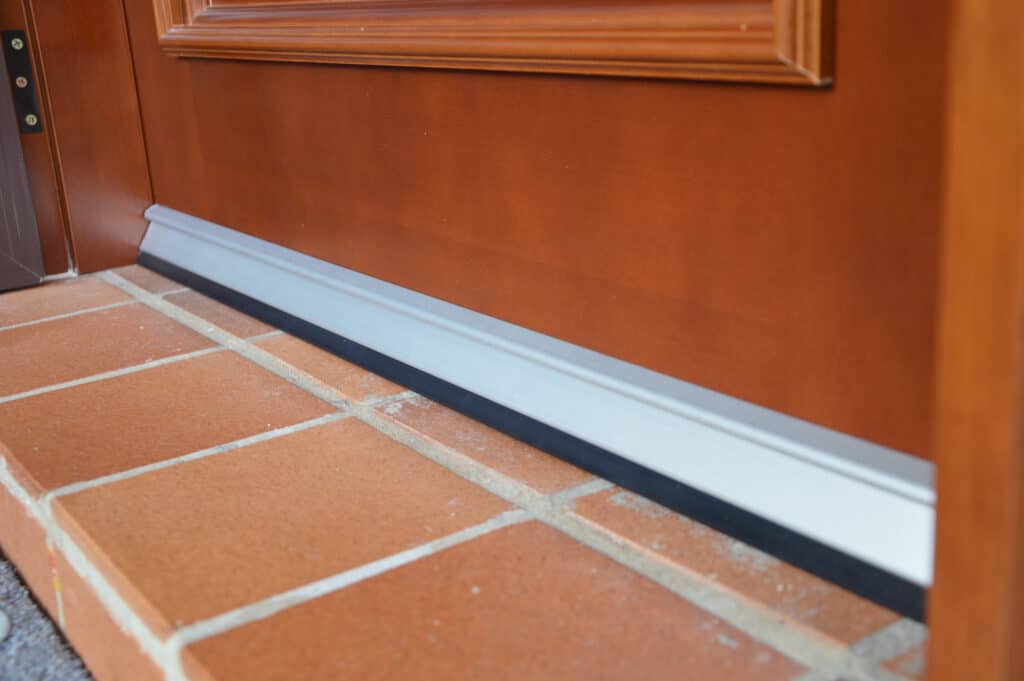
Step 5: Sealing Door Thresholds
• Apply caulk: Choose a high-quality caulk or silicone sealant designed for exterior use. Apply a continuous bead of caulk along the gap between the door threshold and the floor. Smooth it out with a wet finger or caulk tool for a clean, professional look.
Additional Tips for Enhancing Door Insulation
How to insulate front doors effectively can go beyond just weatherstripping and door sweeps! In the Australian climate, where temperatures can swing drastically, think about applying UV reflective film to the interior side of any glass panels on your door.
This trick will help reflect heat back into your home during those chilly winter months and block it from entering during the scorching summer days.
You’ll also want to pay attention to your door’s hardware, like hinges, knobs, or latches. If they are worn out or loose, they might be creating hidden gaps that allow draughts to creep in. Replacing them with new, tight-fitting hardware can make a surprising difference.
A door draught stopper is a handy option for a quick fix, especially if you’re renting or on a budget. This long, fabric-filled tube can be placed at the bottom of your door to create a barrier against unwanted draughts.
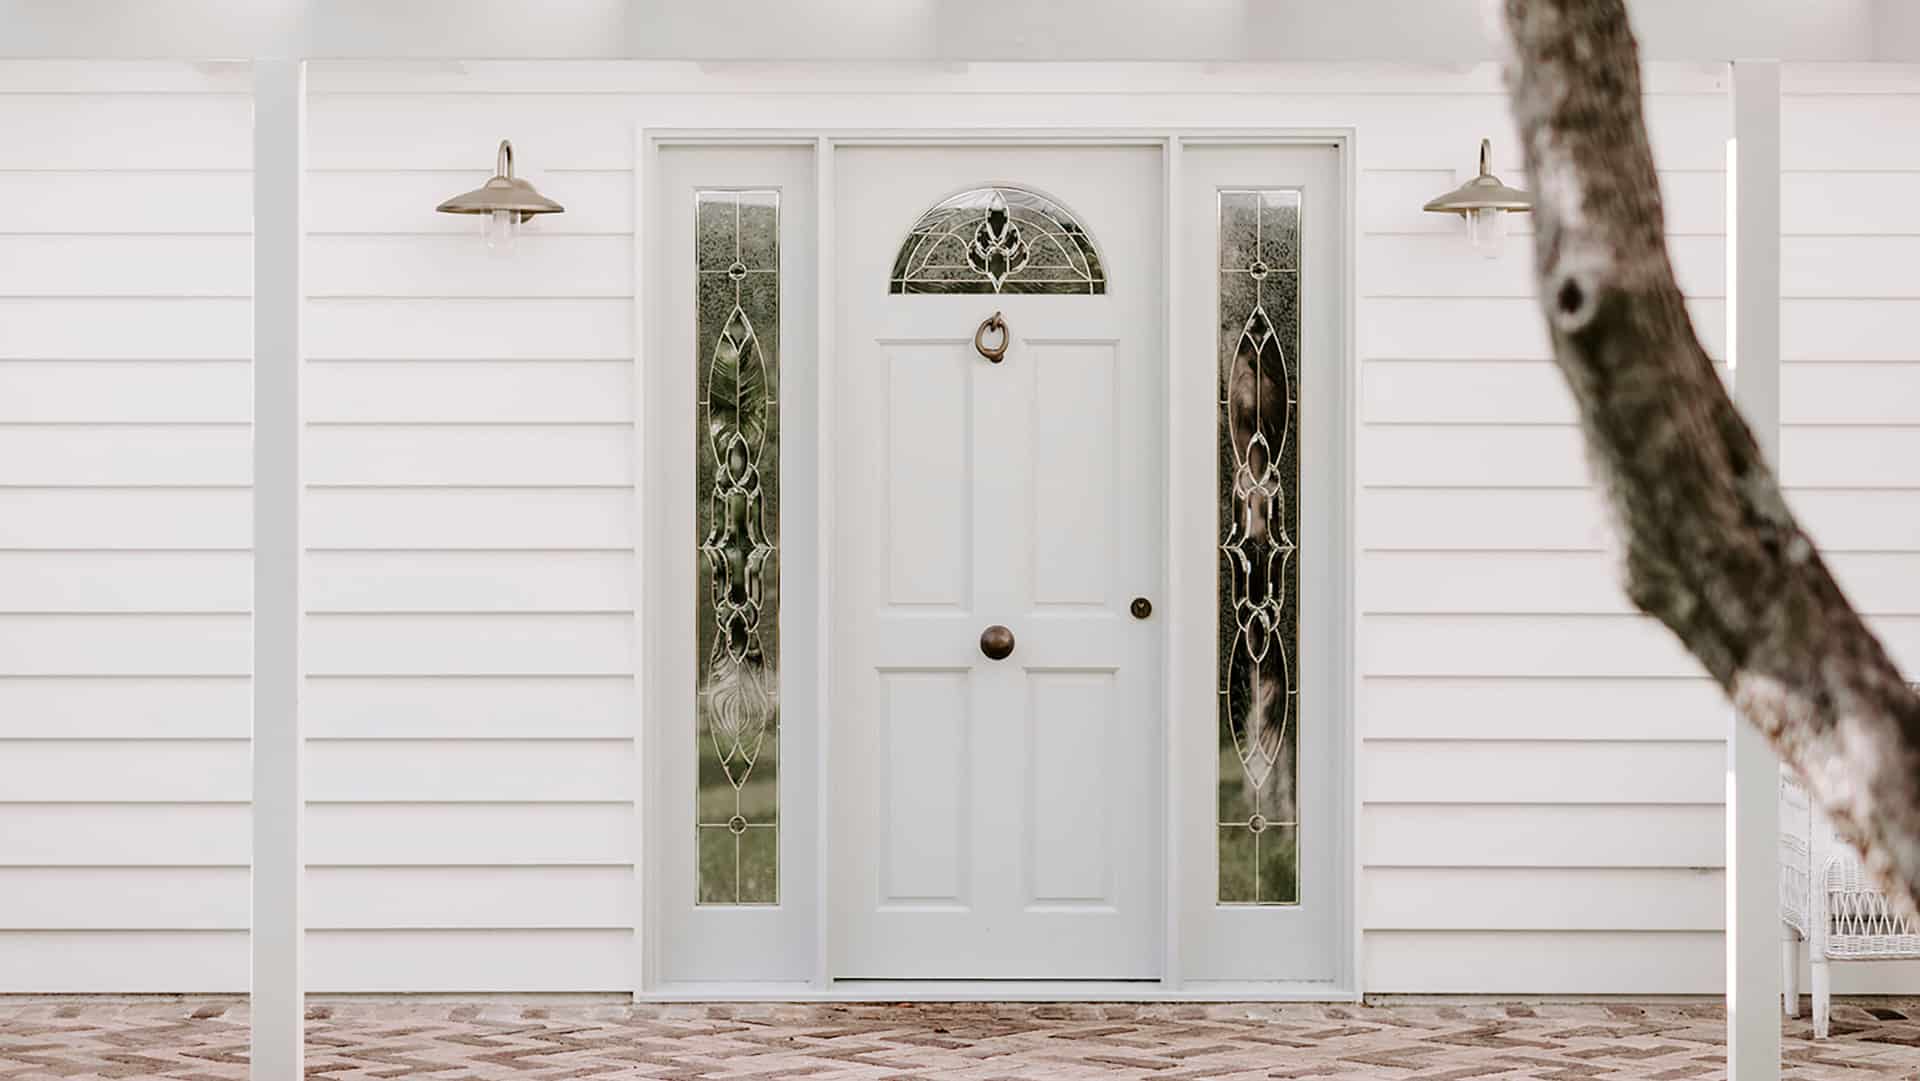
Create a Cosy, Energy-Efficient Home Today!
Now you know how to insulate your front door like a pro, are you ready to say goodbye to chilly draughts and sky-high energy bills?
Your front door is your first line of defence against the elements, so try out the few simple upgrades we mentioned above and see how they can make a world of difference!
But why stop there? If you’re ready to take your home’s energy efficiency to the next level, explore the innovative InsulSafe™ doors available at Doors Plus.
These doors are engineered to keep your home cosy year-round and save you money on your energy bills month after month.
Visit your nearest Doors Plus showroom or contact us today for a free measure and quote.

FAQs About How To Insulate Front Doors
How Do I Know if My Front Door Needs Insulation?
There are a few telltale signs. If you feel a draught or notice temperature differences when you stand near your door, it’s likely not properly sealed.
Visible gaps or cracks around the door frame and threshold are also clear indicators. You might even hear whistling sounds when the wind blows, a sure sign that air is leaking through your door.
Can I Insulate My Front Door Myself, or Do I Need a Professional?
Insulating your front door is a project that most homeowners can tackle themselves! It’s a relatively simple DIY task that requires basic tools and easy-to-find materials from all hardware stores.
What Is the Best Material for Insulating a Front Door?
There isn’t a one-size-fits-all answer, as the best insulation material depends on the specific areas you need to address.
Weatherstripping is essential for sealing gaps around the door frame, while a door sweep blocks draughts from the bottom. Expanding foam can be used to fill larger gaps, and caulk is ideal for smaller cracks.
How Long Does Door Insulation Last?
It depends on the materials used, the quality of installation, and the level of wear and tear it experiences.
Generally, weatherstripping may need to be replaced every few years, while foam insulation and caulk can last much longer. Regular checks and maintenance will help prolong the effectiveness of your door insulation.
Recent Post
Informational
Essential Guide to Measuring the Rough Opening for a Bifold Closet Door
August 26, 2024
Featured Post